Data Acquisition
What is an instance
An instance is a saved connection that tells the system:
- where to get the data from
- with which credentials
- which databases to use
You can think of an instance as a connection profile to a data source.
Each instance:
- is independent of others
- can be modified at any time
- can be deleted if no longer needed
Overview of Data Acquisition page

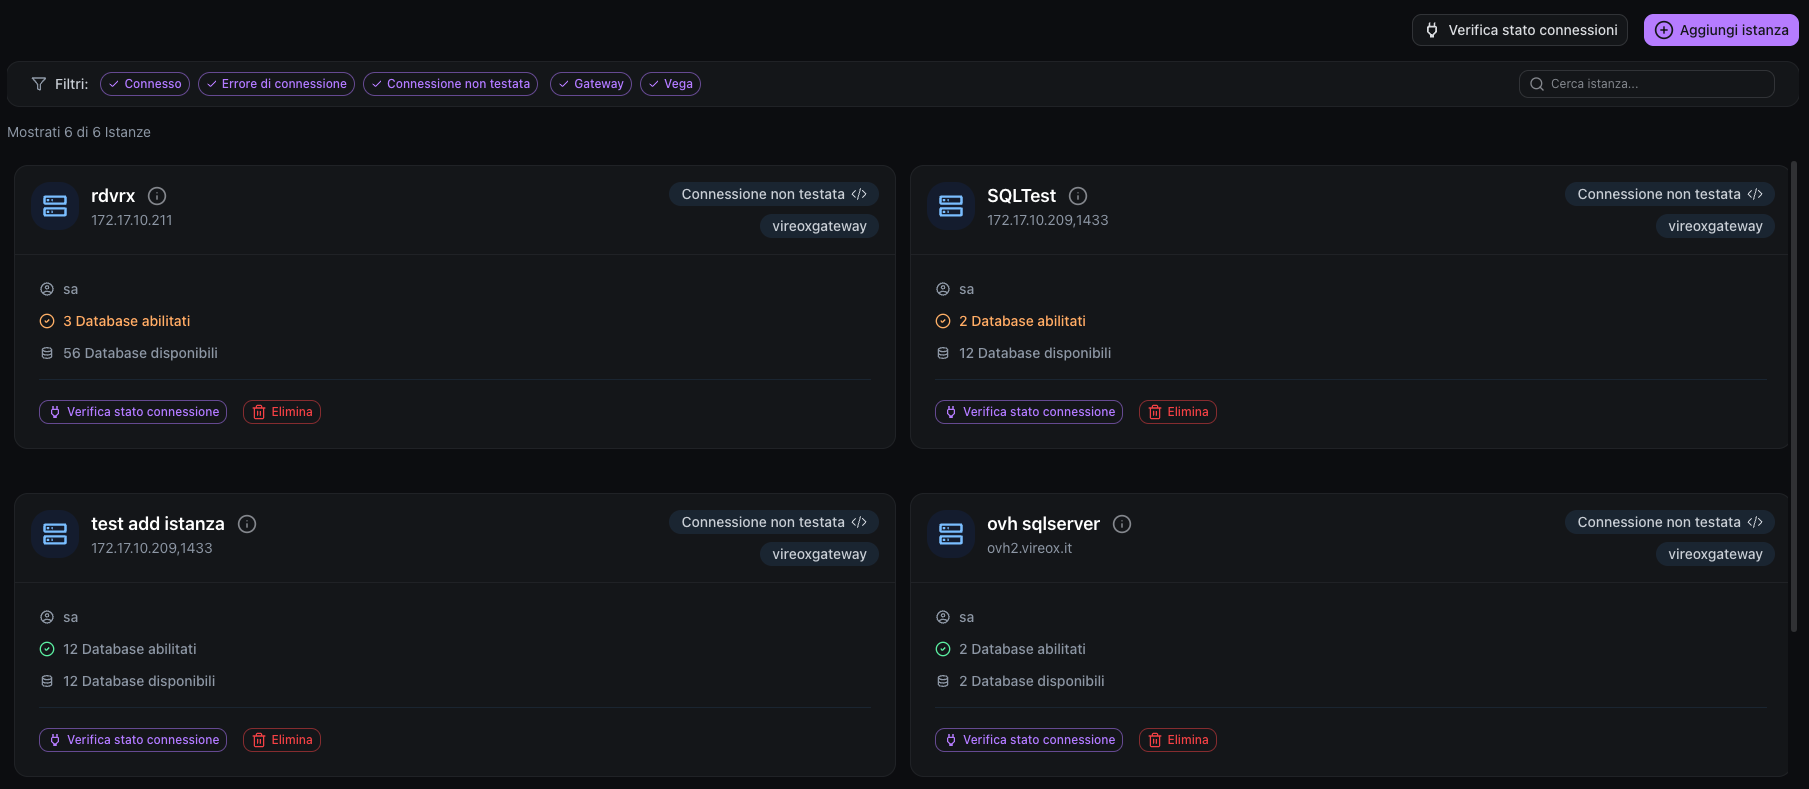
When you open the Data Acquisition page, you see the list of all configured instances, each instance is displayed as a card.
Information shown on the card
- Instance name
- Source address
- User
- Data source type
- Connection status
- Enabled databases / Available databases
- Button to copy the instance ID
Filters and search
The page provides tools to filter and search instances:
- Connection status filter — Connected, Error, Not tested
- Source type filter — Gateway, Vega
- Search bar — search by name, address or user
A counter shows how many instances are visible out of the total.
Main actions
- Check connection status → verifies if the connection works (single instance or all at once via the global button)
- Click on the card → edit the instance
- Delete → remove the instance
Adding a new instance
To create a new instance, click on Add instance. The procedure is guided and consists of 3 steps.
Step 1 - Data source selection
Choose the data source:
- VireoXgateway
- Vega
Step 2 - Instance details
Enter the connection data:
- Instance name
- Source address
- Username
- Password
Source address format
The address field accepts multiple formats:
| Format | Example |
|---|---|
| IPv4 address | 192.168.1.100 |
| Hostname | server.domain.com |
| URL with protocol | https://server.domain.com:1433 |
| SQL Server format | hostname,1433\SQLEXPRESS |
- Underscores in hostnames (e.g.,
my_sql_server) - Port numbers (e.g.,
server:1433orserver,1433) - SQL Server instance names (e.g.,
server\SQLEXPRESS)
Connection test (mandatory)
Before continuing you must run the connection test.
- If the test succeeds, you can proceed
- If the test fails, you must correct the entered data
Step 3 - Databases
Select the databases to use:
- you can choose individual databases
- or use Select all / Deselect all
Finish by clicking on Save associations.
Editing an existing instance
To edit an instance:
- click on the instance card
A window opens with two tabs.
Tab Instance parameters
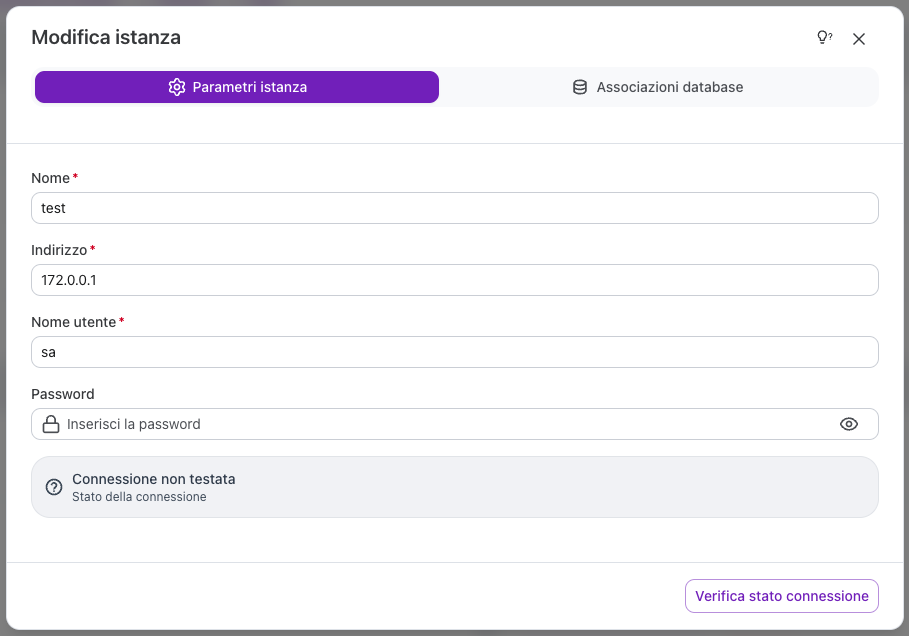
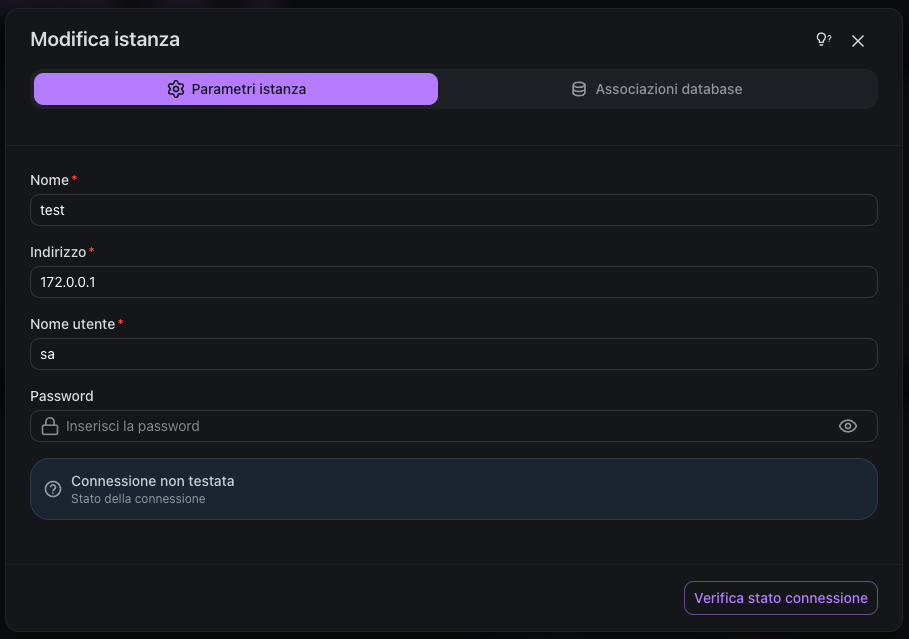
Here you can modify:
- name
- address
- credentials
Tab Database associations
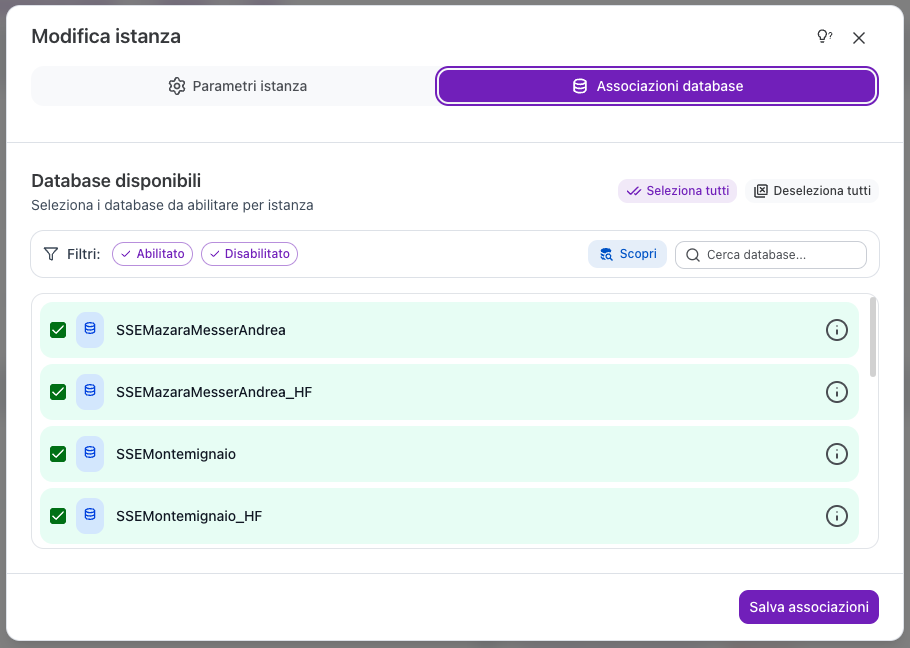
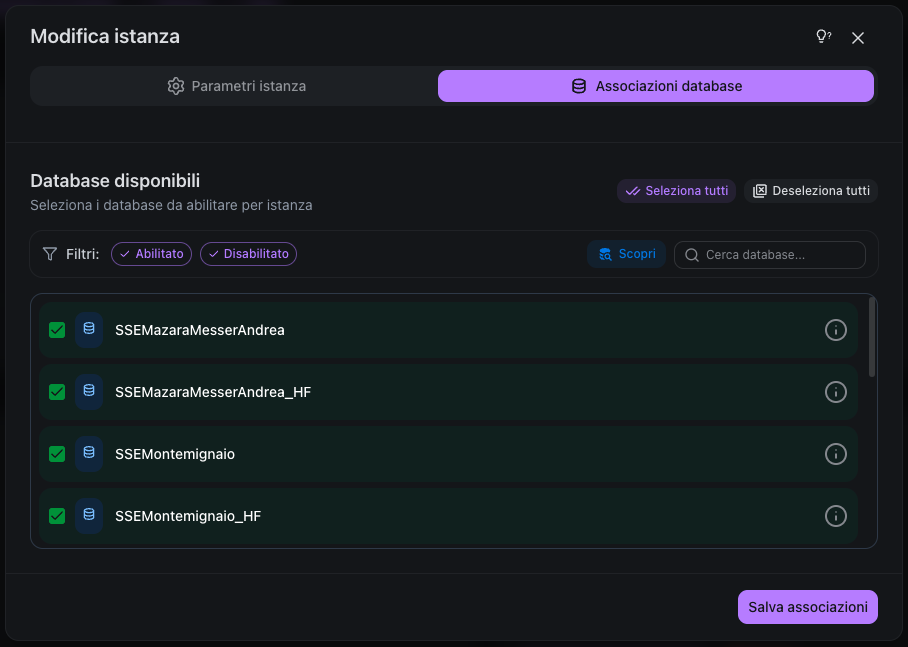
Here you can:
- add or remove databases
- change associations without touching the connection
Connection status
| Status | Description |
|---|---|
| Connected | Connection successful - the source is reachable and credentials are valid |
| Error | Connection failed - the source is unreachable or credentials are invalid |
| Not tested | Connection has not been verified yet |
| Testing | Connection test in progress |
Frequently asked questions
Why did the connection test fail?
Common causes include:
- Incorrect server address or port
- Wrong username or password
- Firewall blocking the connection
- Server not running or unreachable
The error message will provide, if possible, specific details about the problem.